Well I've had a week of boarding and making animatics for a couple of projects at TANDEM, so it MIGHT be a busy July.
I've evolved a bit of a workflow here that helps me get storyboards and animatics together quickly and without too much fuss. Here's a brief description of my storyboard method...
1:
I always start with really rough thumbnail drawings. It's better to work quickly, explore lots of ideas for different shots etc. and not get hung-up on making beautiful drawings. I usually draw the panels in biro, often working in my fave A5 size notebook: fitting eight of these drawings to a page. So the drawings are usually around 7 x 5 cm in size. I fill pages with these drawings until I've worked through the whole script and planned all of the shots and moves etc.
2:
I then scan these in and save the pages as big jpeg images.
3:
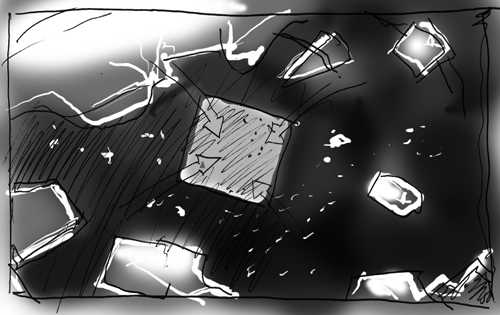
I open the jpegs in Photoshop, then sometimes clean them up a bit or add some shading or colour if need be. (see example illustration above)
4:
Next, I keep the images open in Photoshop but also launch Open Office Writer simultaneously. (Writer is a great free Word Processing application and I've already set up a template that fits 6 story panels to each page.) Using the Photoshop rectangle tool set to 'fixed ratio - 16x9' I select each panel from the large jpeg image and use keyboard short cuts to copy these and paste them straight into the Writer storyboard page.
5: In Writer, I then dupliclate/edit panels, type in all of the text below the panels etc. When this is done, I export the multi-page storyboards as a single .pdf file. Job done.
Here's a storyboard page I made for the 'Little Hands Clapping Film'

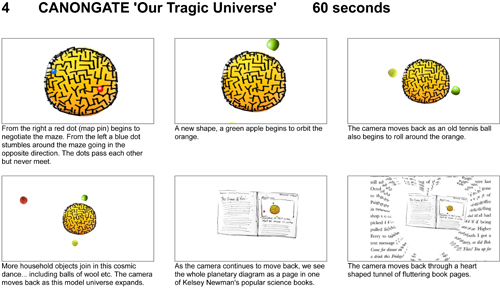
And here's (a more colourful one) I made for the 'Our Tragic Universe Film'
I hope to update this post soon with some more details (including animatics) and further examples etc. Hope this is useful to someone out there, please feel free to comment...
No comments:
Post a Comment